
HARDWARE USED:
Canon HDV mini DV (format of tape: digital). I felt more confident using the camera this time round navigated myseld easily around it. Though we had learnt to change the style of the camera shot e.g. black and white we kept with the normal settings as we felt such effects would not be in keeping with the mood and tone of our opening.
 Shot gun mike and headphones. Our group had not previously used the shot gun mike before. We found we were able to set it to two settings, surround and shot gun. At first, we used the mike when shooting, but going back over the footage we realised that it picked up background noise which we hadn't heard over the headphones, so on the main and back up shoots we chose not to use it.
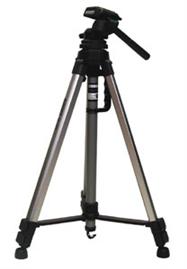 Tripod. This was an essential piece of hardware. Without it we would not be able to shoots shots steadily and without it we would not have gotten the more harder to achieve shots, such as the high angle of Zoe at the kitchen counter. The tripod also us to adjust different heights to correctly frame different shots and helped us to create smooth pans. Below is a step by step example of a pan presented in a flow chart.

A picture of Jess and I shooting a bedroom shot...

SOFTWARE USED:
When it came to editing, we worked on a PC based digital editing suite.
- Adobe Premiere Pro cs3. As I had already used Premiere Pro before, there was nothing that I had not encountered before. However, I do feel that after this project I was able to use the program more confidently and more competently. The razor tool and the rubber band tool were most useful to us as we needed them to trim down shots. The most important thing I have learnt is that it is easier to work on seperate timelines as it keeps you more organised and helps you compare differences in different edits. (Below is a screen shot of Adobe Premiere Pro).

- There were also several effects and transitions on Adobe. The video transitions we used were fades and 'ghost'. The audio transitions we used were 'audio gain' and 'constant power'. In certain shots we also increased the volume to add effect.
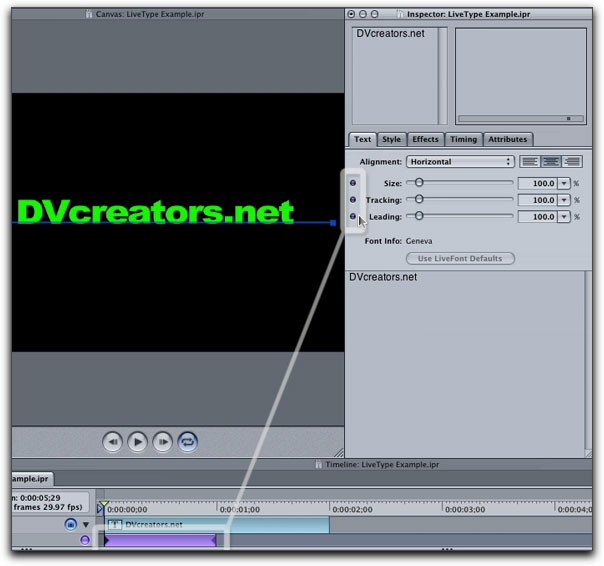 I also learnt to use the LiveType Program on the Mac to create titles. Using LiveType, instead of using the titles software available on Adobe Premiere Pro, was much better because there were a wider variety of effects to use and a wider variety of fonts. I found LiveType much easier to use than the titles on Adobe as all we had to to was type in our desired text and apply effects and fonts. We used the 'wipe' effect for our titles in the sequence. The timeline on the bottom allowed us to control the timing and pace of our titles.
To create the BFE Productions logo, I used a variety of PC based programs, including Adobe Photoshop and titles on Adobe Premiere Pro. To get the moving sunset in the background, Ryan, the technician helped us download a free short movie off the internet. From this I learnt that to get the desired product it was necessary to experiment with a variety of programs.
Below: A shot of Michael and I creating the BFE Productions logo on Adobe Photoshop.


No comments:
Post a Comment